
ranging from brush for: automotive, botanical, animal, flowers, people, nature, effects, equipment, furniture, music, sports, religious, etc.
As we see below is a simple way how to draw flowers using Adobe Photoshop brushes, I think this is very simple and easy, for more detail please refer to the way it works.
Tutorial 10 steps to quickly and easily create drawing of flowers using Adobe Photoshop.
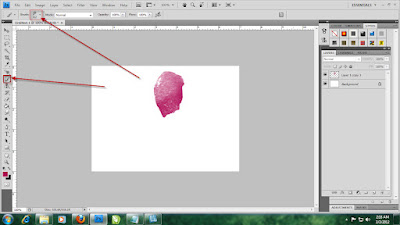
1.The first step please open a new area of the image by selecting "File" then "New" or by using the keyboard can also press Ctrl + N, as an exercise we can use the original size.

2.Select the Brush Watercolour effect,then do just a click of a mouse we can already see the effects of a good brush. proceed to copy a layer or Ctrl + J, in this step when we make a copy layer will not be seen because the color is still the same.
3.On the copied layer then rotate clockwise motion, click and drag, see the example.

4.Do the same as step 3,
select the copied layer then rotate clockwise motion, click and drag, see the example.

select the copied layer then rotate clockwise motion, copy again to meet the desired number of petals, click and drag, see the example.

6.Open a new layer, or use the keyboard by pressing Ctrl + Shift + N, create a simple flower buds, seen as an example.

7.Copy the layer, do this step as step 2, Ctrl + J and select Image - Adjustment-Hue Saturation or Ctrl + U, this step serves to change the color of flower buds are already on the copy.Change the color becomes brighter.
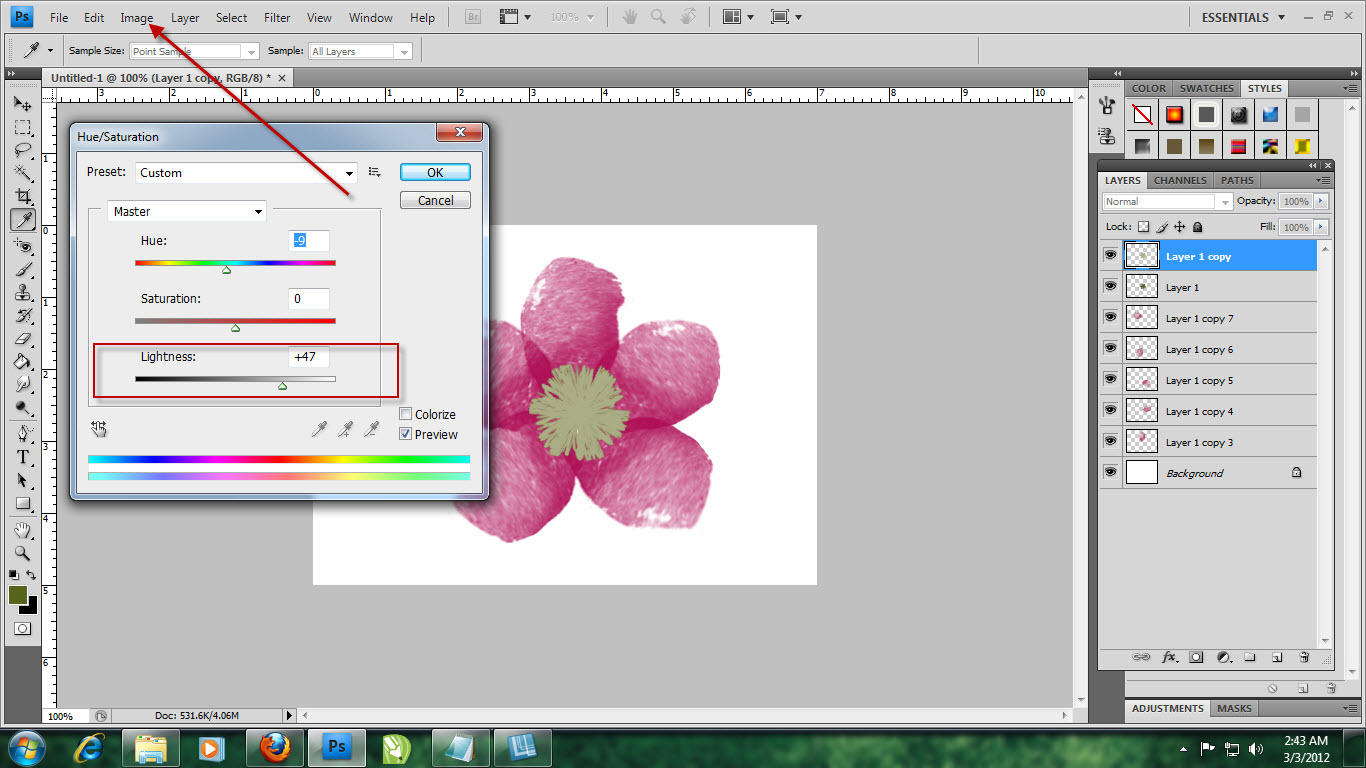
8.Before giving effect to the flower buds,
change the size of the light-colored flower buds by Click and drag towards the (smaller). Then select the layer, right click on your mouse, select
Blending Options - select Drop Shadow - set the size to taste. See an example.

9.Click OK, the result is like the example below.

10.Finish - Completed, it is very simple, to make a simple flower images using Adobe Photoshop + Brush plugin.

For the next post I will give also other tips and tricks on how to create a design using Adobe Photoshop.
Good luck. I hope this tutorial is helpful.
DOWNLOAD TUTORIAL
10 steps adobe photoshop, adobe photoshop plugins, Art, brush plugin, create DESIGN, drawing, how to become a textile designer, quickly tutorial, tutorial photoshop

0 komentar:
Post a Comment